Ptgui Beta 11 4 + 5
Ptgui Beta 11 4 + 5 now Stitches one Dual Fisheye Shot with a 360 camera Thank You to Michael Ty for posting this on his Blog
From the release notes:
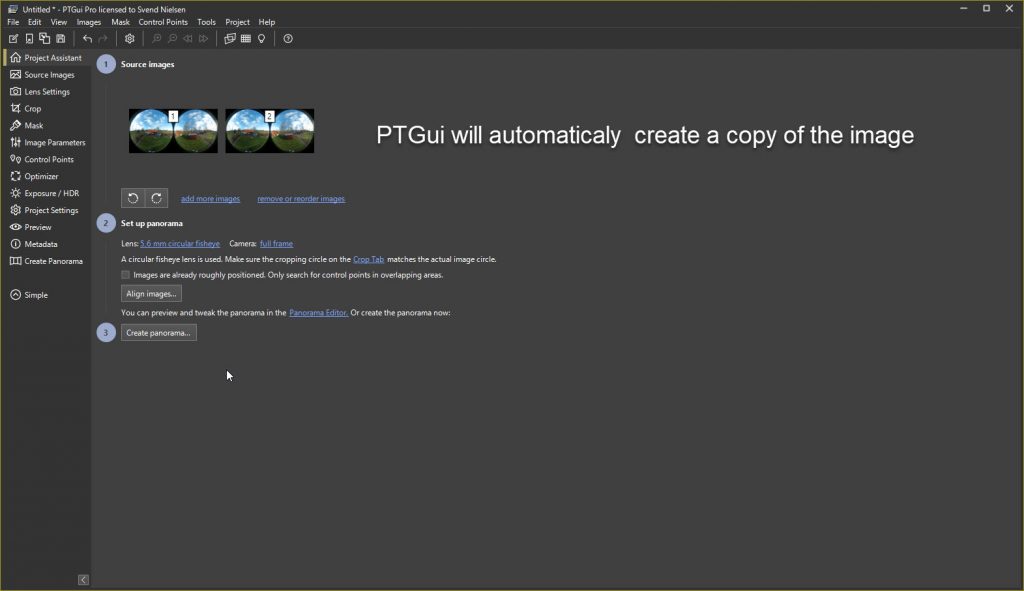
– Dedicated support for dual fisheye images from the Samsung Gear 360, Xiaomi Mijia Sphere and YI 360 cameras. These cameras produce a single image containing two circular images side by side. When adding such an image to a PTGui project the image will automatically be loaded twice, with different cropping circles and masks, positioned at -90 and +90 degrees yaw. This behavior can be disabled in Project Settings – Miscellaneous if necessary. This even works in the Batch Builder. Due to manufacturing tolerances there will be small differences between individual cameras of the same type, resulting in different small offsets of the image circles. A template can be created for each individual camera by taking a photo (outside, with no objects close to the camera), adding control points and optimizing. Then do File – Save As Template. This template can be used via File – Apply Template, or in the Batch Builder.
Due to manufacturing tolerances there will be small differences between individual cameras of the same type, resulting in different small offsets of the image circles. You need to create a template (only need to do this once for your camera):
– Start a new PTGui 11 project
– Load a Xiaomi picture (preferably one taken outside, with no objects close to the camera)
– Go to the Control Points tab and add a few control points. Image 1 is the leftmost image circle, Image 2 is the right hand one. Just click once in the left image, then in the corresponding point in the right image.
It can be helpful to use the Generate Control Points Here function: Shift+drag to create a rectangle, right-click in the rectangle and choose Generate Control Points here.
– Optimize the project (menu Project -> Optimize). The result should be ‘good’ (otherwise you’ve misplaced a control point somewhere)
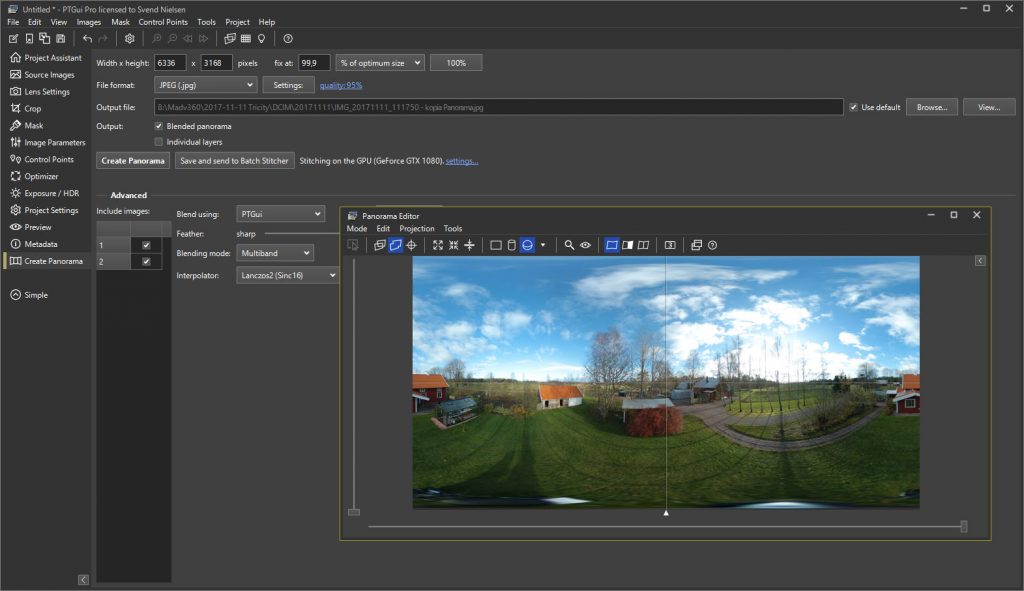
– Open the panorama editor (Control+E on Windows, Command+E on mac) and check the result.
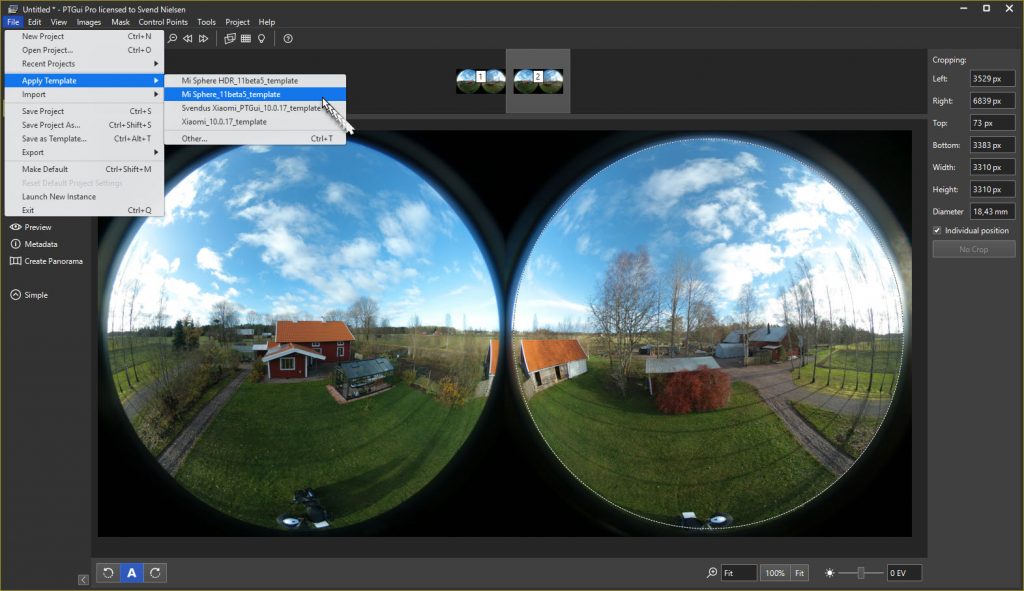
– File -> Save As Template
That’s all. For subequent images: load the image, File -> Apply Template. Then go straight to Create Panorama.
If you need more help, please post to the PTGui support forum and make a set of images available. See 3.15:
http://www.ptgui.com/support.html#3_15
in PTGui Pro 11 you can get great HDR stitches from bracketed Xiaomi images!
Instead of one image, load 3 bracketed images at once into PTGui. They will show up as 6 source images.
In the Project Assistant, select ‘enable HDR mode’ (and link the bracketed images). The 6 source images are now shown as 2 merged images.
Do the control point placement (as I explained above), run the optimizer and save as a template.
Exposure Fusion or tone mapping can be adjusted in the side bar in the Panorama Editor. You can switch between exposure fusion and tone mapping in the Exposure / HDR tab #software


