
Page 168 - Friedman Archives
P. 168
168 The “Recording” (Camera icon) Menu Settings
5.18 EXPOSURE COMPENSATION
Menu Position MENU 4 Exposure Comp.
What it Does Makes the picture lighter or darker
Recommended Setting: Zero, unless you need to override the camera’s
choice to achieve the image you’ve pre-conceived in your mind.
NOTE: Why is there a menu setting for this
when there’s a perfect accessible physical
button to do the same job? Well, if it’s in a
menu then it can be stored in one of the
camera’s Memory registers; plus you may
have chosen to reassign this button, in
which case you can still change it from a
menu.)
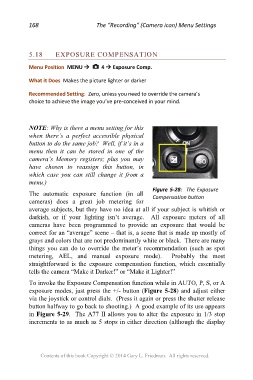
Figure 5-28: The Exposure
The automatic exposure function (in all
cameras) does a great job metering for Compensation button
average subjects, but they have no idea at all if your subject is whitish or
darkish, or if your lighting isn’t average. All exposure meters of all
cameras have been programmed to provide an exposure that would be
correct for an “average” scene – that is, a scene that is made up mostly of
grays and colors that are not predominantly white or black. There are many
things you can do to override the meter’s recommendation (such as spot
metering, AEL, and manual exposure mode). Probably the most
straightforward is the exposure compensation function, which essentially
tells the camera “Make it Darker!” or “Make it Lighter!”
To invoke the Exposure Compensation function while in AUTO, P, S, or A
exposure modes, just press the +/- button (Figure 5-28) and adjust either
via the joystick or control dials. (Press it again or press the shutter release
button halfway to go back to shooting.) A good example of its use appears
in Figure 5-29. The A77 II allows you to alter the exposure in 1/3 stop
increments to as much as 5 stops in either direction (although the display
Contents of this book Copyright © 2014 Gary L. Friedman. All rights reserved.