
Page 170 - Friedman Archives
P. 170
170 The “Recording” (Camera icon) Menu Settings
5.19 EXPOSURE STEP
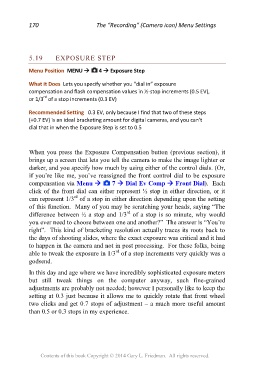
Menu Position MENU 4 Exposure Step
What it Does Lets you specify whether you “dial in” exposure
compensation and flash compensation values in ½-stop increments (0.5 EV),
rd
or 1/3 of a stop increments (0.3 EV)
Recommended Setting 0.3 EV, only because I find that two of these steps
(+0.7 EV) is an ideal bracketing amount for digital cameras, and you can’t
dial that in when the Exposure Step is set to 0.5
When you press the Exposure Compensation button (previous section), it
brings up a screen that lets you tell the camera to make the image lighter or
darker, and you specify how much by using either of the control dials. (Or,
if you’re like me, you’ve reassigned the front control dial to be exposure
compensation via Menu 7 Dial Ev Comp Front Dial). Each
click of the front dial can either represent ½ stop in either direction, or it
rd
can represent 1/3 of a stop in either direction depending upon the setting
of this function. Many of you may be scratching your heads, saying “The
rd
difference between ½ a stop and 1/3 of a stop is so minute, why would
you ever need to choose between one and another?” The answer is “You’re
right”. This kind of bracketing resolution actually traces its roots back to
the days of shooting slides, where the exact exposure was critical and it had
to happen in the camera and not in post processing. For these folks, being
rd
able to tweak the exposure in 1/3 of a stop increments very quickly was a
godsend.
In this day and age where we have incredibly sophisticated exposure meters
but still tweak things on the computer anyway, such fine-grained
adjustments are probably not needed; however I personally like to keep the
setting at 0.3 just because it allows me to quickly rotate that front wheel
two clicks and get 0.7 stops of adjustment – a much more useful amount
than 0.5 or 0.3 stops in my experience.
Contents of this book Copyright © 2014 Gary L. Friedman. All rights reserved.